Part of the Body Butters series.
Recipe
Heated Phase
- 80g Shea Butter
- 10g Kokum Butter
- 90g Ayurvedic Herbal Oil
- 10g Cetearyl Alcohol
Cool Down
- 10g Constarch
- 2g Vitamin E Oil (Antioxidant)
- 2g Essential Oil (Optional Fragrance)
Method
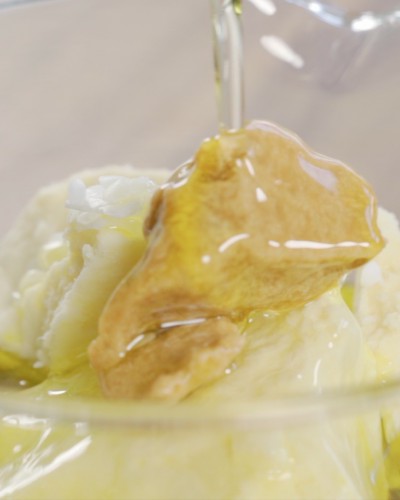
- Measure out your heated phase ingredients: Shea Butter, Kokum Butter, Ayurvedic Oil (or your preferred oil of choice) and Cetearyl Alcohol.
- Combine ingredients in a heat proof container and gently melt over low heat using a double boiler or bain-marie.
- Once melted, take off the heat and allow to cool to room temperature before transferring to a fridge.
- Refrigerate the body butter until firm. Use a fork to test the consistency, if done the fork should be able to pierce through the centre but it should not be liquid inside.
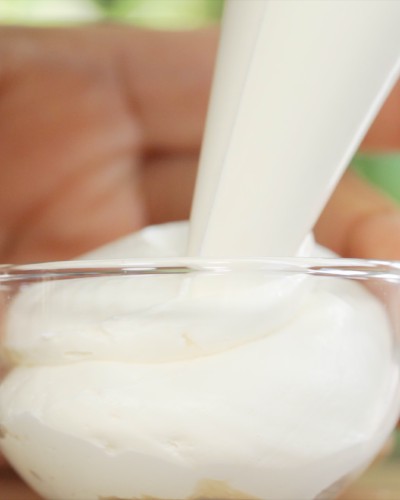
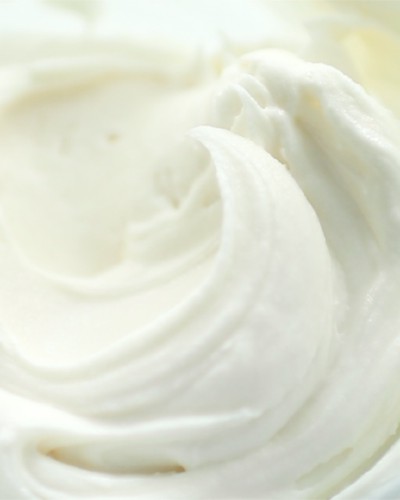
- Once set, you can move on to whipping the butter. Use an electric whisk to whip until the butter is aerated and forms soft peaks. The texture should be completely smooth and resemble whipped cream.
- Once the desired texture is reached, measure out the cool down ingredients: Constarch, Vitamin E Oil and any Essential Oils you’d like for optional fragrance.
- Add the cornstarch first and whisk on a low speed to ensure that it’s thoroughly incorporated and there are no lumps. Then add the rest of the cool down ingredients and whip on high speed to create a light and airy whipped body butter.
- Store your whipped shea body butter in a tub-style container or glass jar, away from direct sunlight. The body butter will continute to firm up and will reach it’s final consistency in the next 24 hours.
This recipe makes 200g of whipped shea body butter, and will last for approximately 12 months. See the interactive formula to customise this recipe.
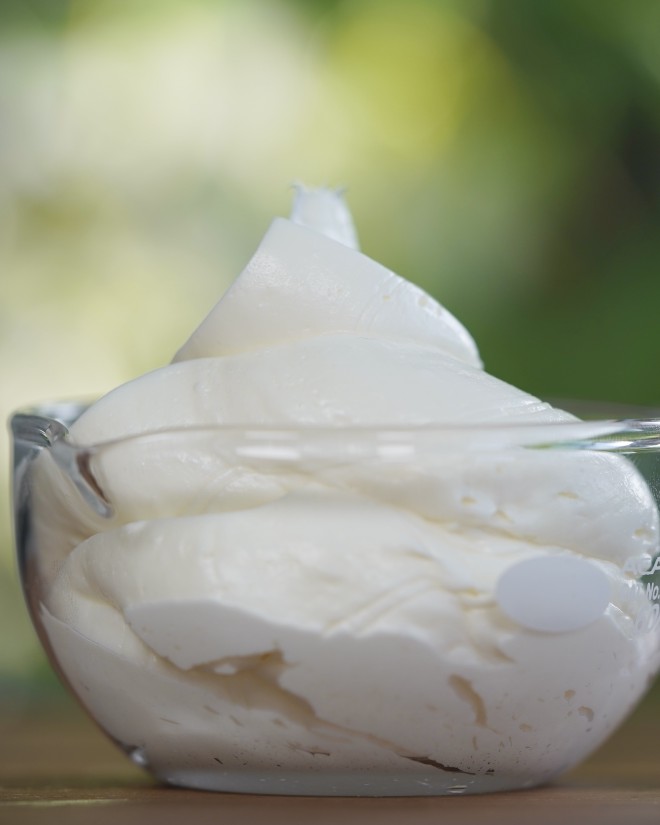
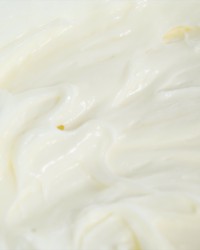
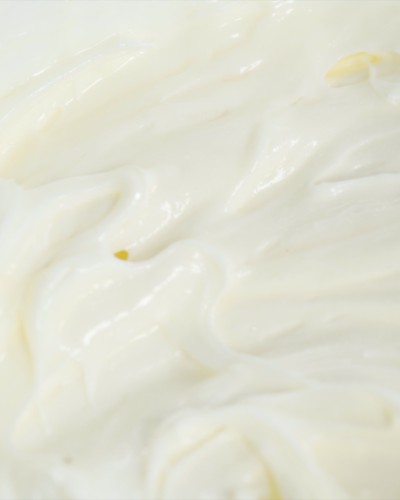
Whipped shea body butter
Does it get any more classic than whipped shea body butter? I know there are more exotic and arguably better butters out there but mastering a basic shea body butter - ensures that you have a firm foundation to build on to reach greater body butter heights.
Most of the issues you can run across working with natural butters can be found in body butter recipes so this base whipped shea body butter is a great place to start. But what makes shea butter such a good choice in the first place? Well, let’s take a dive into the turbulent waters of body butters.

Why you need to add a high melting point butter
The natural tackiness of shea butter, makes for great moisturisers but doesn’t much help with the “heavy” and “greasy” claims that are so often levelled at body butters. Now we can, and indeed do, reduce some of the oiliness by using other fatty alcohols, waxes and emulsifiers, but you can also significantly improve the texture by combining butters.

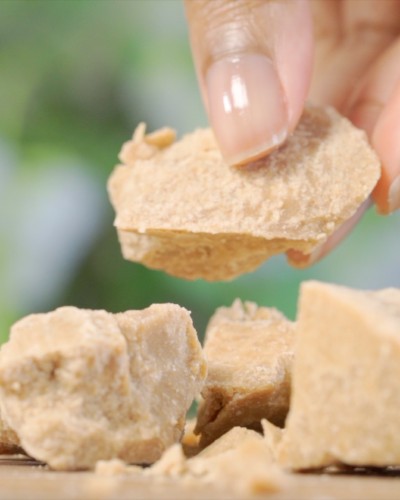
Kokum butter is a high melting point butter that is often compared to cocoa butter for its rigidity and firmness. However, it has a few advantages over the latter.
Kokum butter has a surprisingly “dry” feeling on the skin, making it the perfect choice for cutting back on the tacky shea butter whilst also providing much needed stability in the overall body butter.
This also keeps the natural butter percentage high - which is a big reason why so many of us love body butters.
What to do if your body butter is grainy
Don’t panic! Natural butters are tempermental and sometimes accidents are unavoidable. For a list of guidelines to help you when making body butters, see my whipped butter tutorial.
What’s important to remember is that you’re most likely to encounter the bulk of your issues in the cooling and heating stages of making body butters. Shea butter in particular has a reputation for going “grainy” when mishandled, which is actually why I used it in this formula.
Low and slow is the game when it comes to melting butters, it’s best practice to use indirect or moderated heat such as a double-boiler or bain-marie when making natural cosmetics but it’s essential when making body butters. As a rough estimate, shea butter that’s firm at room temperature should take at least 20 minutes to melt completely.

Can you re-melt body butter?

Substitutions
- Shea butter: this can be replaced with most butters, mango butter cupuaçu butter, cocoa, tacuma, mango. However as shea butter is about 40% of this body butter formula, if you use a butter with a different consistency it will effect the final product.
- Kokum butter: the easiest replacement for this is cocoa butter. This has a similar firm texture, but it does have a greasier application than kokum butter so the end body butter won’t be as light.
- Cetearyl alcohol: you can use any of the fatty alcohols (i.e. cetyl alcohol or stearyl alcohol, etc) with minimal difference in the final texture of the body butter. This could also be substituted for a fatty acid like stearic acid, however, it won’t have the same skin feel as stearic acid lacks the spreadability of fatty alcohols.
- Cornstarch: food-grade cornstarch will also work (although i’d run it through a sieve first), potato or rice starch, arrow root powder or even a fine clay such as kaolin clay can be used as a replacement.