Part of the Lotion Bars series.
3 ingredient Body Butter Bar perfection! Great for beginners and veterans alike.
Ingredients
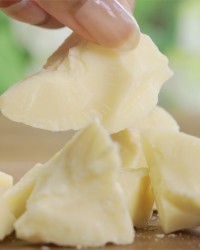
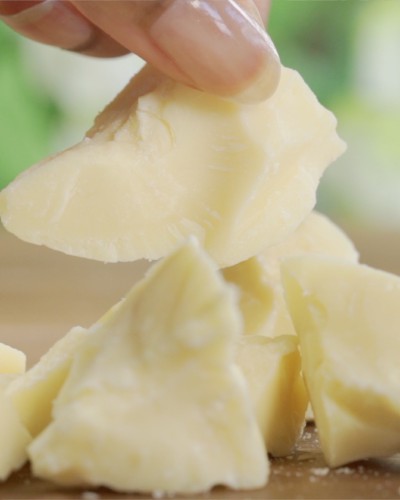
- 50g Cocoa Butter
- 33g Olive Oil
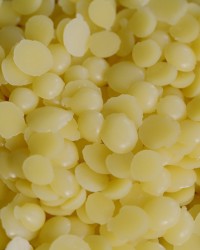
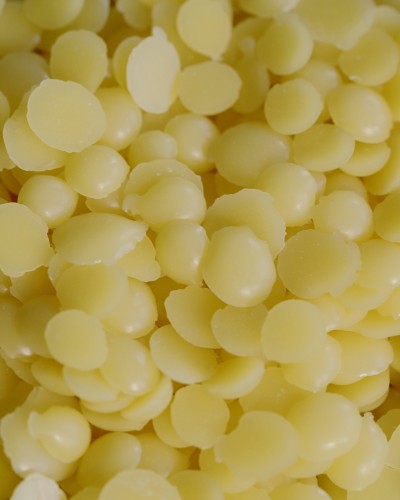
- 16g Beeswax
- 1g Vitamin E Oil (optional but recommended!)
Method
- Measure out Cocoa Butter, Olive Oil and Beeswax
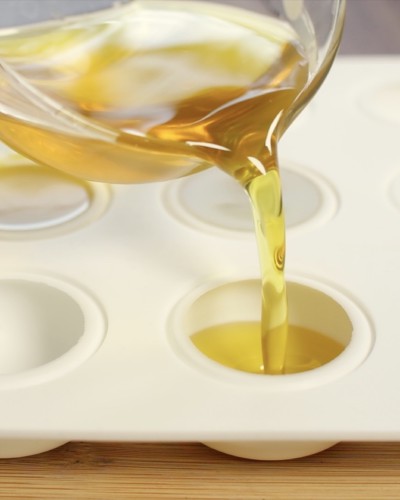
- In a large heat proof container, combine the butter, oil and wax and melt over low heat until completely liquid. Due to the sensitivity of natural ingredients, I’d recommend using a gentle heat method such as a double boiler or bain-marie.
- Take the mixture off the heat and allow to cool slightly but still remain liquid
- Add Vitamin E oil or your antioxidant of choice to help further prolong the life of your Body Butter Bars
- Pour into silicone moulds, ideally small “bite-sized” mould that will result in single-use bars
- Transfer to the fridge and let set for a minimum of 12 hours
- Remove bars from the moulds and enjoy!
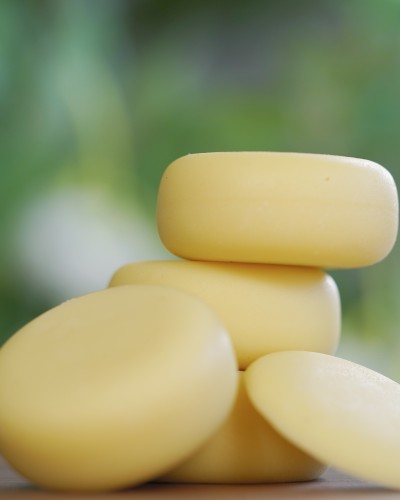
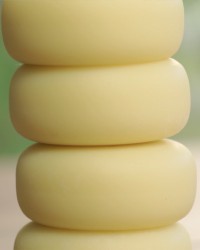
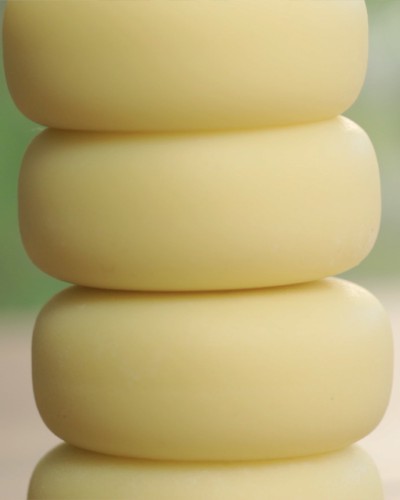
This recipe is for 100g and makes roughly 4 Body Butter Bars. To store, wrap bars in parchment paper and place away from sunlight and water. Body Butter Bars should last approximately 6 months but can last up to a year if not used. Please see the formula calculator to adjust amounts.
How to make body butter bars

The trick to making the perfect Body Butter Bar is all about finding the right balance between solids and liquids. You can pretty much use whichever oils and butters you prefer, but following this recipe with common ingredients like cocoa butter, olive oil and beeswax will give you a great starting point!
If you’ve ever found yourself de-moulding grainy, greasy, hard or overly soft lotion bars - then this simple but effective tutorial is for you!
Which butter should you use?
Cocoa butter is rock solid at room temperature but can melt on contact with your skin, so it’s the perfect choice to form the backbone of our Body Butter Bars!
Hard butters are generally easier to work with for bars as they require less manipulation to create solid products. A handy tip to remember is - the harder the butter, the less wax you’ll need.
By using cocoa butter, we can keep the wax in the recipe to a minimum and therefore avoid the dreaded “chalk-like” bars that you’ve likely experienced once or twice.
Natural cocoa butter has the added benefit of possessing a rich chocolatey aroma that creates a natural fragrance, so it’s a good option for purists who’d prefer to avoid unnecessary fragrance.
While I normally encourage customisation and using the ingredients you have on hand - swapping out the butters and wax can result in a completely different texture when it comes to Body Butter Bars!
If you use softer butters such as shea butter, mango butter , tacoma etc, that would require altering the amount of oil and wax used in this recipe to get the desired texture. For easy substitutions, I’d recommend using hard butters with at similar texture to cocoa butter such as Kokum Butter .
Your choice of butter is crucial in determining the final texture of these body butter bars.
So if you’re new to making bars, I recommend keeping things simple and starting out with cocoa butter.
How to set body butter bars?
One word: wax. Wax makes up roughly a third of this recipe so it’s pretty important to get the type and amount right. Beeswax is probably the most well known and common variety of wax - and with good reason! It’s known as a “soft” wax, due to it’s relatively low melting point. This allows it to create solid products that still have some give and flexibility, perfect for balms, butters and of course - bars!
Essentially, it’s a balancing act between a solid bar at room temperature, but soft enough to be able to melt when massaged into the skin.
Wax also has the additional benefit of sealing in moisture, by providing an occlusive barrier on the surface of the skin that traps water and prevents moisture loss. Soy, candelilla, berry or hydrogenated waxes can all be used as a substitute for beeswax but they require further tweaks to the formula to get the same texture. I’d recommend going for a hydrogenated wax as they tend to have a similar melting point to beeswax, but popular choices like candelilla will still work if you reduce their concentration.

How to make bars that melt on your skin?
Oil is a crucial component in body butter bars, without it you might as well just moisturise with a lump of cocoa butter (which is always an option by the way!)
Oils provide lubrication and lessen the “drag factor” that occurs when you attempt to rub a solid bar over dry skin. They tend to have a faster absorption time when compared with butters so they aid in both moisturisation and application.
To create a body butter bar that can melt on your skin, at least a third of your formula should be made up of liquid oils. If you’re following along with this tutorial, the cocoa butter and beeswax are formulated to provide stability, but ultimately melt with minimal contact on your skin. A sign of a good body butter bar is a visible trail of moisture left on your skin after a swipe!
How to preserve body butter bars?
Body butter bars are anhydrous products that don’t require a preservative unless you wish to use this on wet skin. To protect the oils against oxidation, I’d recommend using an antioxidant such as tocopherol, vitamin E oil or rosemary extract.
For a more advanced lotion bar that is preserved and suitable to use on wet skin, try my conditioner bar and lotion bar tutorials.