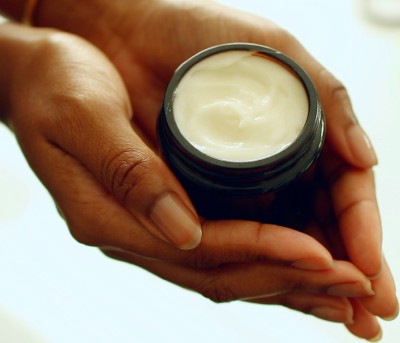
Ready to up your skincare game? Making your own lotion unlocks a whole new world of potential when it comes to looking after your skin! It might seem a little overwhelming at first, but you’ll be a pro in no time! And this basic natural lotion tutorial is the perfect step by step to guide to get you off to a great start. Ready? Let’s go!
Recipe
Water phase
- 67g Distilled Water
- 2g Honey (use glycerine for vegan lotion)
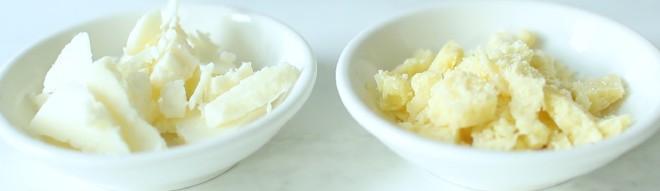
Oil Phase
- 10g Shea Butter
- 12g Almond Oil
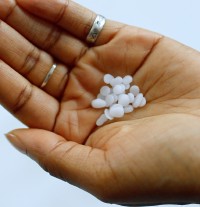
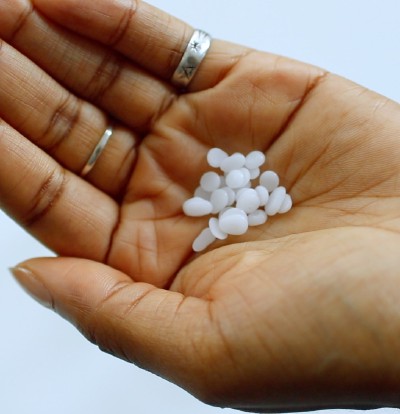
- 5g Emulsifying Wax BP (this depends on what emulsifier you use, but most emulsifying waxes are around 4% - 6%)
Cool Down
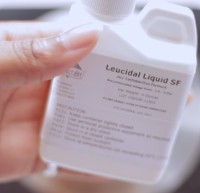
- 2g Leucidal Liquid SF
- 1g Vitamin E (Antioxidants)
- 1g (max) Fragrances - optional
Method
[See Timestamp 04:49 of Natural Lotion Beginner’s Tutorial]
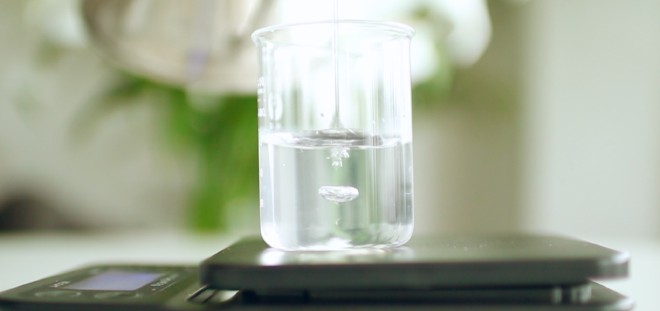
- Place water phase & oil phase ingredients in 2 separate heat resistant glasses
- Heat to the same temperature by placing in the same double boiler or heating method. It will take about 20 minutes for the oil and wax to melt down completely
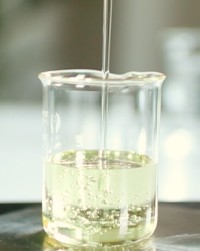
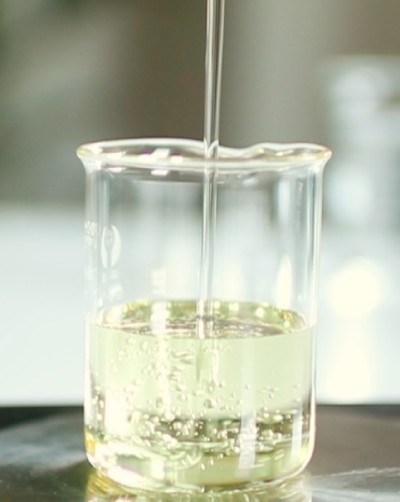
- Once everything is melted, slowly pour the heated water phase into the oil phase. Use a spatula to stir until everything combined, then transfer onto a flat surface
- Use an electric whisk or immersion blender to whip up the lotion until it’s fully emulsified and has a thick, creamy texture. It will thicken as it cools and takes approximately 5 minutes of blending
- Once the lotion is made add your preservative, antioxidants & any fragrances
- The ingredients of the recipe add up to 100g, but as we whipped up our lotion, you’ll need a container that’s at least 25% bigger to store lotion
This recipe makes 100g of lotion. See the interactive lotion formula calculator to customise this recipe.
Ingredients
[See Timestamp 02:10 of Natural Lotion Beginner’s Tutorial]
So every lotion has 5 key elements. Whether it costs 2.99 or 299! All lotions need these 5 things:
- Water - this also includes any water-based products like aloe vera, green tea, floral waters or hydrosols etc.
- Oil - includes both liquid oils (almond, castor, jojoba) & solid butters (shea, cocoa, mango)
- Emulsifier - Anytime water and oil are in the same product, you’ll need this to make sure they mix together and don’t separate
- Antioxidant - slows down the oxidation process of your oils, and prevents them from turning rancid
- Preservative - a must! This is probably one of the biggest misconceptions in DIY skincare. Whilst most skincare isn’t edible, natural skincare uses perishable ingredients so in a way it’s like cooking. Where there is water, there’s life. So if your skincare has water ingredients (lotions, creams, toners, gels etc.) they’ll need a preservative to stop the bacteria, mould and fungi growing!
That’s it! As long as you have these 5 key ingredients, you can make a lotion.
Water
Water is an essential ingredient in all moisturisers. Moisturisers have two key functions that enable them to work effectively and keep your skin protected.
- Hydrate
- Seal
In order to moisturise your skin - you first need your skin to be hydrated. This is the difference between how soft and plump your skin feels when you apply moisturiser straight after a shower, versus rubbing some cream in when you notice your skin is dry. It never feels quite as smooth during the latter - even if you use a great moisturiser. This is because no matter how amazing a cream or lotion is - it can’t beat the ultimate hydration your skin gets when it’s exposed to water.

So why don’t we just moisturise with water and call it a day? Well.. as I’m sure you’ve experienced, if you hop out the shower, towel off and go about your day it doesn’t take long before your skin starts to feel dryer than the Sahara! This is because your skin can’t hold on to water - water is able to easily penetrate your skin cells, but there’s not much to stop it leaving just as easily. In fact, our skin can often feel drier after it’s been exposed to water and left to dry. It’s that feeling of washing your hands or face with water, and then noticing how dry they feel a few minutes later.
And that’s when our second key function of a moisturiser comes in: Seal!
Oil
While water penetrates deep into your skin, providing much-needed hydration, it’s the oils and butters that fill in the gaps of the outer layers of skin. They’re occlusive qualities create a barrier on the skin to seal in the moisture and improve the overall appearance of your skin.
The oil category is vast and includes both liquid oils and solid butter. Oils have a wide variety of benefits, but here are a few popular choices to start off with:
- Almond Oil - a great all-round oil, deeply nourishing but still affordable. Medium to light consistency that won’t clog pores and is suitable for most skin types.
- Grapeseed Oil - very light oil with moisturising properties, making it ideal for sensitive or acne prone skin. Can be expensive but perfect for light lotions and creams.
- Jojoba Oil - the closest to our skin’s natural oil, making it easy to absorb and one of the few oils that can penetrate deeper layers of skin. Can be expensive but great for both hair and skin products due to rich moisturising properties.
- Shea Butter - a rich soft butter that can melt with your body heat. Shea butter’s benefits are well documented, including penetrating deep into the skin, improving the appearance of scars and dark marks, increasing skin’s elasticity and improving the overall texture and feel of skin.
- Cocoa Butter - a dense, firm butter packed full of fatty acids that help to nourish the skin. Cocoa butter manages to provide deep moisture without leaving skin feeling “sticky or tacky”, perfect for creams and lotions that need to glide on easily.
- Avocado Butter - the lightest out of the three butters, made from the nutrient-rich & creamy flesh of avocados. Great for any moisturisers that prioritise being light but still moisturising. Melts on contact and blends effortlessly into the skin.
The Oil component of lotions and cream can have a big impact on the final texture of your product. They’re also the area that can cause the most amount of problems or reactions depending on your skin type. It’s important to be aware of the benefits and shortcomings of any oils that you want to include in your lotions. Things to watch out for are: how penetrating an oil is, pricing, texture (how light or heavy), ability to clog pores, application (tacky, greasy or smooth).
As emulsions such as lotions & creams are mostly water, it is likely that you won’t notice slight differences between oils, however, it is important to bear in mind when you’re looking to target specific skin conditions such as acne-prone, sensitive, or dry skin.

Emulsifier
[See Timestamp 03:34 of Natural Lotion Beginner’s Tutorial]
Emulsifiers aren’t usually the first thing that comes to mind when we think about what goes into lotions - but you’ll definitely notice them when they’re gone!
Much like when you’re making a creamy sauce or melting chocolate and the mixture “splits” the same thing happens to creams and lotions that don’t have an emulsifier. This is why several DIYs might instruct you to “shake well before use”, however - this is only a temporary fix! That ultra smooth, creamy lotion texture can only be achieved with a proper emulsion, and no amount of shaking or whisking will be able to get around it.
So emulsions occur when both the water and oil present in a mixture are mixed together to form a stable formula.
Emulsifiers contain both hydrophilic (water-loving) and hydrophobic (water-hating) properties, enabling them to bind both oil and water together. This is why they’re able to create emulsions.
There are different types of Emulsifiers available, but they can be divided into two groups:
- Solid Emulsifiers e.g. Emulsifying Wax NF, Olivem 1000, Monotov 68, Emulsifying Wax BP or BTMS
- Liquid Emulsifiers: e.g. Lecithin
Please note that “beeswax” is not an emulsifier. It can thicken formulas but it does not contain molecules that are attracting to both water and oil and therefore cannot mix the two together.
Lotions, Creams & Body Butters: What’s the difference?
[See Timestamp 01:05 of Beginners Natural Lotion Tutorial]
Most moisturisers fit within 3 categories: Lotions, Cream and Body Butters. Whilst they’re texture varies significantly - the main difference is actually the addition of Water.
Creams and lotions are emulsions (they contain water & Oil), while body butters are anhydrous (don’t contain water).
Body butters are wonderfully thick and made from a mixture of solid butters and carrier oils, they’re often ‘whipped’ to create a lighter texture. As they don’t contain any water, they’re richer than emulsions and are usually only applied in a small amount.
Creams and lotions are emulsions whose primary function is to hydrate and moisturise skin. Unlike body butter, emulsions can actually hydrate the skin due to their water content. They’re an all-in-one product that can provide moisture (water) as well as sealing the skin to prevent evaporation (oils & butters).
The difference between creams and lotions is largely down to the amount of water they contain. Creams can contain up to a 3:1 ratio of oils to water, whereas lotions can be less than 1:3 oils to water – but this can vary significantly.
Preservatives
[See Timestamp 07:30 of Beginners Natural Lotion Tutorial]
This is by far the most controversial ingredient when it comes to natural cosmetics, but they are an essential part of making skincare. Cosmetic products need to be preserved in order to make it safe to be used on yourself and consumers. Preservatives kill microorganisms and waterborne bacteria and prevent the growth of fungus, mould and yeast - all of which can cause significant damage to your skin.

Not all products need a preservative, for instance it is not necessary to add a preservative to anhydrous products like body butters and balms (as long as they do not come into contact with water). But as mentioned above, lotions and creams are emulsions that contain water - the giver of all life, including bacteria!
Important things to consider when choosing a Preservative:
- Recommended usage levels - each preservative will have its own guidelines on how much to use. Regardless of the recipe you follow, you must adhere to the preservative’s specific usage rates.
- Oil or water soluble - depending on your product, you need to choose a preservative that will be effective in its solution
- What stage you need to add your preservative - some preservatives become inactive when heated and therefore need to be added post heating phase
- Effective pH range - most natural preservatives require pH to be lower than 5.0, ideally around 4.0
- Broad-spectrum preservatives - these preservatives provide full protection against bacteria, yeast and mould. I’d recommend using these otherwise you’ll have to mix different preservatives to make sure your cosmetics are fully covered
What Natural Preservative can you use?
There are several natural preservatives that are either derived from natural sources or have a chemical structure that is the same as what’s found in nature. Here are a list of some to try:
- Preservative Eco / Geogard ECT / Plantaserv M.
- Optiphen
- Geogard 221 / Cosgard
- Naticide / Plantaserv Q
- Leucidal Liquid SF
- Geogard Ultra
- Phenoxyethanol
Depending on your location and distribution a natural preservative will have a different name, but I encourage you to look into your option as preservatives are a vital part of being able to make your own natural skincare and haircare products.
Please note: Vitamin E or Rosemary Extract are NOT PRESERVATIVES, they will not protect your cosmetics from bacteria, mould or fungal growth.
Antioxidants
[See Timestamp 09:11 of Beginners Natural Lotion Tutorial]
Antioxidants have two main purposes in our lotion:
- They slow down the oxidation process thus lengthening the shelf-life of the oil component in cosmetic products
- They have significant skin benefits
Antioxidants are often confused with the role of preservative, which is how common misconceptions arise about Vitamin E being a preservative. Here’s a good way to remember the difference: Preservatives For Water; Antioxidants For Oil.
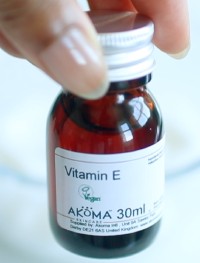

Oxidation is the process of decay that happens when oils are exposed to air. Oxidation causes oils to go rancid, transforming them into different compounds that can be irritating and harmful to the skin. Oxidation is a natural process that can’t be prevented, however, we can slow it down significantly by adding antioxidants.
Natural Antioxidants for Skincare & Haircare:
- Vitamin E - the most common form of antioxidant added to natural cosmetic products. Vitamin E actually refers to a group of 8 different chemical compounds that are produced by plants.
- Rosemary Extract - (not to be confused with rosemary oil) is also a great choice of use as an antioxidant. However, it does have a strong scent that might be noticeable in your final product
And that’s it! Once you have this base formula down, you’ll be able to design your own lotion recipes using whatever ingredients you like. By following this guide, you should have a better understanding of how to make a natural lotion along with all the individual elements that you need to include. Next step is the put the theory into practice by making your own lotions. Watch the full video tutorial (above) to see how to incorporate each element at the right stage of the lotion recipe.
Once you’ve mastered this basic natural lotion recipe, try out my moisturising oat lotion and face cream recipes!